This KB article provides instructions on how to configure Microsoft 365 settings in the admin center portal. The article is also available in my podcast and Youtube channel. You can directly watch the video on Youtube.
In this how-to article, we will show you how to configure Microsoft 365 settings in the admin center portal. These settings include domains, search and intelligence, org settings, integrated apps and partner relationships.

To access the Microsoft 365 admin center portal, browse to https://admin.microsoft.com and login with your global administrator credentials.
Domains #
From the Domains section, you have the following options.
- Search for and see the details of any registered DNS domain under your Microsoft 365 tenant.
- Choose which DNS domain information columns to show, such as DNS Provider, DNS health or Services used under a specific DNS domain.
- Buy a new DNS domain.
- Add a new DNS domain. Click on "Add domain" to get started. On the first page of the wizard, provide the DNS domain name and click "Use this domain".
- At this point, you need to verify ownership of the DNS domain by using one of the following methods: Add a TXT record in your domain DNS zone, add an MX record in your domain DNS zone or add a text file to the domain's website. After you have chosen the required verification method, click on "Continue".
- Depending on your chosen verification method, you will be provided with the relevant information (DNS record or file). Create the required DNS record or file and then click on "Verify". It is expected that this process will take at least a few minutes, in certain cases it can take up to 24 hours, depending on DNS propagation status. Come back to this section after DNS propagation is complete, in order to successfully verify your DNS domain.
- When your domain is verified, proceed to the "Connect domain" section, to connect your domain to certain Microsoft 365 services in your subscription. This will conclude the DNS domain addition wizard.

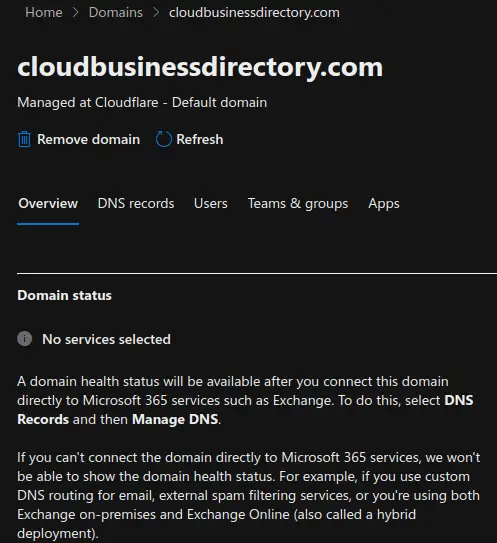
When you click on an existing domain, you have the following options.
- Overview section. You can register another .onmicrosoft.com domain and make this newly registered domain your fallback domain. Carry out the following steps to register a new .onmicrosoft,dot,com, domain.
a. Click on your fallback domain. At the bottom of the "Overview" tab click on "Add onmicrosoft.com domain".
b. Provide the new onmicrosoft,dot,com domain and click "Add domain".
c. You can optionally set this new domain as your new fallback domain. This will replace the old fallback domain. - DNS records section. You can add DNS records or print the list of DNS records in your DNS zone. You can also connect a domain to Microsoft 365 services by configuring this domain's required DNS records via your DNS zone provider.
- Users section. This section lists the users which have the DNS domain in their email addresses or they use it to sign in. Select a user, or multiple users, to change their domain.
- Teams and groups section. This section lists the groups which have the DNS domain in their primary email addresses or aliases. Select a group, or multiple groups, to change their domain.
- Apps section. This section lists the apps which use the DNS domain as a required URL. Select Manage app to open the app's details in the Azure portal where you can delete the app or change its Identifier URI to another domain.
Search and intelligence #
Insights #
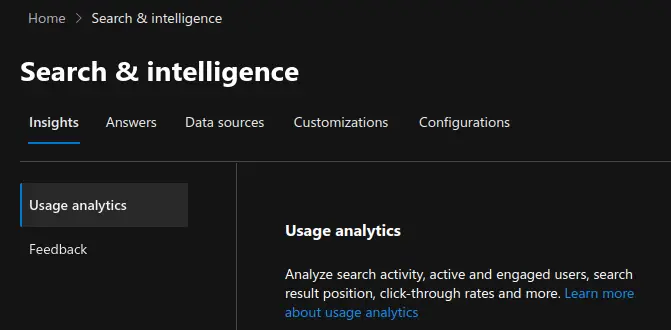
In this section you can view and analyze search activity, active and engaged users and search result position and click-through rates in your organization. Via the "feedback" tab, you can also allow people in your organization to share their comments and experiences with your admins and Microsoft.
Answers #
From this section, you can add acronyms, bookmarks, floor plans, locations and Q&A items to assist your users when searching for enterprise content within the Microsoft 365 apps.
Data Sources - Connections #
You can build and customize connections managed by your organization. These can index data from apps such as Salesforce, Oracle SQL and Azure DevOps. Connections listed as Search under Connected experiences count toward your search connection quota utilization. Click "Add" to connect to a data source.
Customizations #
Under the "Result types" tab, you can create result types. Result types let you create your own search result layouts which are seen by your users on the search result page.
Under the "Verticals" tab, you can add and manage verticals. Verticals are the sections which appear at the top of the results when end users do a web search.
Configurations #
From this section, you can manage configurations for the following items:
- Microsoft Search in Bing setting
- Microsoft Search in Bing extension
- Microsoft Search in Bing shortcut
- Meeting Insights settings
- Item insights
Org settings #
Services #
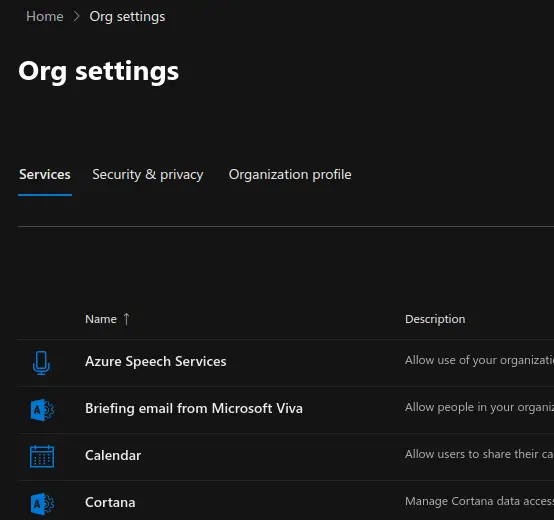
Azure Speech Services
This section allows you to make use of your organization's emails and documents to improve speech recognition accuracy.
Briefing email from Microsoft Viva
This section allows people in your organization to receive Briefing email
Calendar
This section allows users to share their calendars with people outside of your organization.
Cortana
This section allows you to manage Cortana data access for Windows versions 1909 and earlier and Cortana app on iOS and Android.
Directory synchronization
This section allows you to sync users to the cloud using Azure Active Directory.
Dynamics 365 Applications
This section allows Dynamics 365 Applications to generate insights based on user data.
Dynamics 365 Customer Voice
This section allows you to choose to record the names of people who fill out surveys.
Dynamics CRM
This section allows you to manage your organization's settings for Dynamics CRM.
Mail
This section allows you to set up auditing, track messages, and protect email from spam and malware in the Exchange admin center.
Microsoft Azure Information Protection
This section allows you to update your settings for Microsoft Azure Information Protection.
Microsoft communication to users
This section allows you to let people in your organization receive email from Microsoft about training and new features.
Microsoft Edge site lists
This section allows you to set websites to open in Internet Explorer mode in Microsoft Edge, or other browser modes.
Microsoft Forms
This section allows you to manage external sharing and record the names of people in your org who fill out forms.
Microsoft Graph Data Connect
This section allows you to manage and update your Microsoft Graph Data Connect settings.
Microsoft Planner
This section allows you to choose whether your users can publish plans and assigned tasks to an iCalendar feed.
Microsoft Search in Bing homepage
This section allows you to customize Bing.com page for your signed-in users.
Microsoft Teams
This section allows you to manage and update your Microsoft Teams settings.
Microsoft Viva Insights (formerly MyAnalytics)
This section allows you to manage and update Microsoft Viva Insights, (formerly MyAnalytics), settings.
Microsoft 365 Groups
This section allows you to manage external sharing and ownerless groups.
Modern authentication
This section allows you to change Exchange Online authentication settings for your entire organization.
Multi-factor authentication
This section allows you to manage multi-factor authentication settings for your users.
News
This section allows you to choose how news about your organization and industry is sent and displayed to your users.
Office installation options
This section allows you to choose how often users get feature updates and the Office apps that users can install.
Office on the web
This section allows you to let users open files stored in third-party storage services in Office.
Office Scripts
This section allows you to let users automate their tasks in Office on the web.
Productivity Score
This section allows you to manage data privacy controls for Productivity Score.
Reports
This section allows you to manage data privacy controls for Admin Center reports.
Search & intelligence usage analytics
This section allows you to analyze Microsoft Search activity by people in your organization.
SharePoint
This section allows you to control external sharing.
Sway
This section allows you to manage sharing and content sources allowed for Sway.
User consent to apps
This section allows you to choose whether users can consent to allow apps to access your organization's data.
User owned apps and services
This section allows you to allow users to access the Office Store and Office 365 trials.
Viva Learning
This section allows you to choose the content providers users can search through when using the Viva Learning in Microsoft Teams.
What's new in Office
This section allows you to manage which Office features appear in What's New.
Whiteboard
This section allows you to permit users to access Microsoft Whiteboard and collaborate on shared whiteboards.
Security and privacy #
Bing data collection
This section allows you to choose whether Bing can learn from your organization’s search behavior to better its results.
Customer lockbox
This section allows you to set requirements for data access.
Idle session timeout
This section allows you to automatically sign users out of the Office web apps after a period of inactivity.
Password expiration policy
This section allows you to set the password policy for all users in your organization.
Privacy profile
This section allows you to set the privacy statement of your organization.
Privileged access
This section allows you to set scoped access for privilege tasks and data access within your organization.
Self-service password reset
This section allows you to let users reset their own forgotten passwords rather than contacting your organization's IT for help.
Sharing
This section allows you to control access for people outside your organization.
Organization profile #
Custom app launcher tiles
This section allows you to add tiles to your users' Office app launcher that open web sites and SharePoint sites that you choose.
Custom themes
This section allows you to customize Office 365 for your organization.
Data location
This section allows you to see where Microsoft stores your data for each service you use.
Help desk information
This section allows you to streamline user support by adding customized contact info to the Office 365 help pane.
Keyboard shortcuts
This section allows you to perform many common tasks using the keyboard. You can also see the full list of supported shortcuts by pressing Shift+? (question mark).
Organization information
This section allows you to update your organization’s contact info, such as your address, phone number, and technical contact.
Release preferences
This section allows you to choose how your organization gets new features and service updates from Office 365.
Support integration
This section allows you to integrate your internal support tools with Office.
Integrated apps #
In this section you can discover, purchase, acquire, manage, and deploy Microsoft 365 Apps developed by Microsoft partners. You can also deploy and manage Line-of-business add-ins developed within your organization.
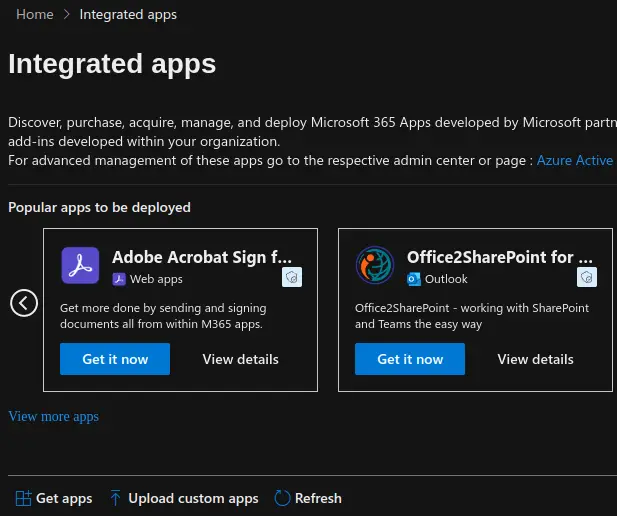
To deploy an add-in, click on "View more apps" to view the full range of available add-ins.
Carry out the following steps to deploy an add-in to your Microsoft 365 subscription.
- If you need to deploy an in-house developed app, click on Upload Custom Apps. You can do this for Word, Excel, Powerpoint and Outlook only. Upload a manifest file or provide a link to an existing manifest file. Then provide the list of users which will have access to the add-in and conclude the deployment wizard.
- If you need to deploy an add-in from the Microsoft AppStore marketplace, click on the "Get Apps" button at the bottom.
- Search for your desired app by either performing a direct search or by using the "By Gategory" and "By Industry" sections on the left side of the screen.
- Click on your desired app and on the app's page click "Get it now".
- After the chosen app is deployed, check the "Overview" tab and ensure that the status is set to "OK".
- On the configuration tab, you can remove any of the deployed apps and manage advanced settings from the respective admin center or page (for example, Microsoft 365 Add-ins page or Teams Admin Center).
- On the users tab, you get to choose which users have access to the app and whether this app is a test deployment or not.
- On the usage tab, you get to see the app's usage statistics in graphical format as well as have the option to download a usage report file.
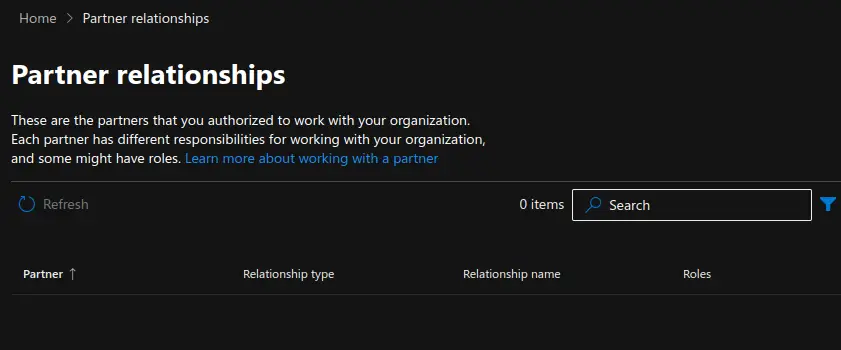
Partner relationships #
This section provides a list of partners which you have authorized to work with your organization. Each partner has different responsibilities for working with your organization, and some might have roles. Establishing partnership with partner organization can be performed via the Microsoft Partner portal, available at partner,dot,microsoft,dot,com. One example of this is a Cloud Service Provider (CSP) partner, which can manage the licenses for your Microsoft 365 products and services.


