Case #
You need to setup a low cost 3D printer. 3D printing, also known as additive manufacturing, is a technology that enables the creation of three-dimensional objects by layering or adding material in a controlled manner. It allows the production of complex and customized shapes that may be difficult or impossible to achieve using traditional manufacturing methods. The process typically involves three main steps: creating a digital model of the object, preparing the model for printing, and then printing it layer by layer.
The following types of 3D Printers are available.
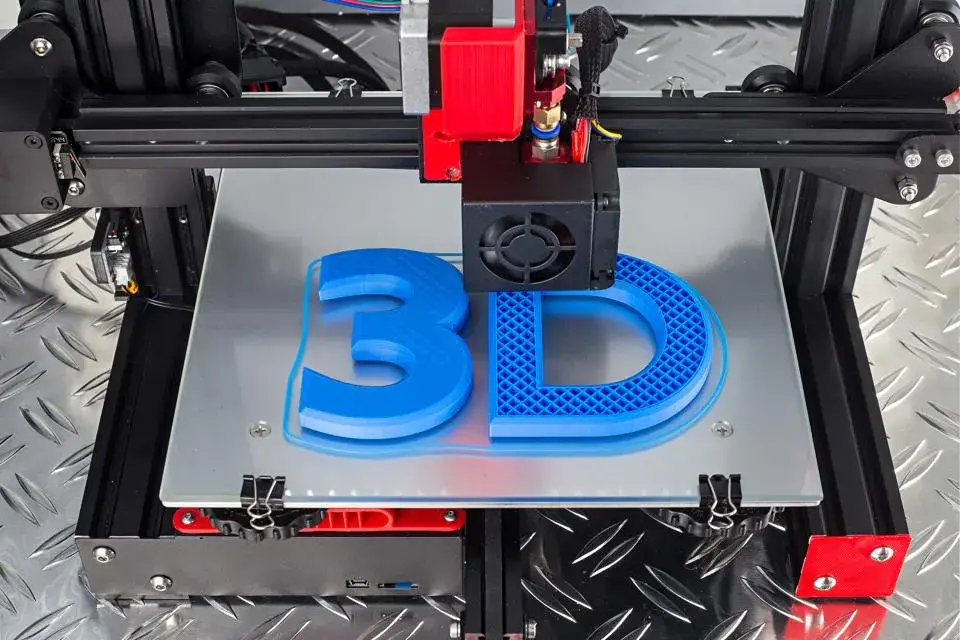
- Fused Deposition Modeling (FDM) or Fused Filament Fabrication (FFF): This is the most common type of 3D printing technology for home users. FDM printers melt a thermoplastic filament and extrude it through a nozzle to build the object layer by layer.
- Stereolithography (SLA): SLA printers use a liquid resin that is cured with a UV light source to solidify each layer. The object is built upside down, with the build platform gradually moving up as each layer is cured.
- Selective Laser Sintering (SLS): SLS printers use a laser to selectively fuse powdered material, typically nylon or metal, into a solid object. The unused powder acts as a support structure during printing.
- Digital Light Processing (DLP): DLP printers work similarly to SLA printers but use a digital light projector to cure each layer of liquid resin.
By using open source software and open hardware, you can minimize your 3D printer implementation costs.
Solution #
Follow the steps below to setup a home-based 3D printer.
- Choose an Open Source 3D Printer: Look for an open source 3D printer model that suits your needs and budget. Popular open source options include Prusa i3, Ultimaker, and RepRap.
- Gather Required Hardware: Purchase the necessary hardware components for building the 3D printer. This typically includes a frame, motors, belts, rods, bearings, a power supply, a heated bed, an extruder, and a controller board.
- Assemble the 3D Printer: Follow the assembly instructions provided with the printer kit. This process can vary depending on the specific model, so refer to the documentation provided by the manufacturer. Ensure all components are securely attached and aligned correctly.
- Install the Controller Board: Connect the controller board to the appropriate ports on the printer. This board typically controls the motors, extruder, and other components. Ensure the wiring is correct and secure.
- Connect the Power Supply: Connect the power supply to the controller board and the heated bed. Follow the manufacturer's instructions to ensure proper electrical connections.
- Install the Filament Extruder: Mount the filament extruder on the printer and connect it to the controller board. Ensure the extruder is properly aligned with the printer's frame. You can make your own 3D printing filament with solutions such as the Felfil filament maker system.
- Calibrate the Printer: Follow the calibration procedures provided by the manufacturer to ensure accurate printing. This may involve leveling the bed, setting the extruder temperature, and adjusting the print speed.
- Install Open Source Software: Download and install open source 3D printing software, such as Cura, Slic3r, or PrusaSlicer, on your computer. These programs allow you to prepare 3D models for printing and generate the necessary instructions (G-code) for the printer.
- Configure Software Settings: Open the 3D printing software and configure the settings according to your printer's specifications. This includes selecting the correct printer model, setting the filament type, adjusting printing speeds, and choosing the desired print quality.
- Load Filament and Start Printing: Load the filament into the extruder and ensure it feeds correctly. Import or create a 3D model in the 3D printing software, position it on the virtual print bed, and generate the G-code. Transfer the G-code to the printer and initiate the print job.
- Monitor the Printing Process: Keep an eye on the printing process, especially during the initial few layers, to ensure everything is functioning correctly. Make adjustments as necessary, such as adjusting bed leveling or pausing the print if issues arise.
- Post-Processing: Once the print is complete, carefully remove the printed object from the build plate. Remove any support structures if applicable. Clean and finish the printed object as desired, such as removing excess filament, sanding, or painting.
Remember to always follow safety guidelines and instructions provided by the manufacturer throughout the setup and operation of your 3D printer.
You can make use of royalty-free 3D printing model repositories, such as the following.
- https://free3d.com/3d-models/
- https://sketchfab.com/features/free-3d-models
- https://www.cgtrader.com/free-3d-models
- https://downloadfree3d.com/
- https://www.printables.com/model/32741-chess-set
You can seek some extra inspiration by looking at top 3D printing videos on Youtube.
3D printing can unleash your imagination and creativity. Let's print something cool at home!


