Case #
You have a Hyper-V cluster and you need to migrate virtual machine disk files and other disk-based clustered objects (such as paging files and snapshots) from an old storage repository to a new storage repository. This could mean migration between storage LUNs of the same storage system or between storage LUNs of different storage systems which are attached to the same hypervisor cluster. The migrated virtual machine disks may be of type .vhd, .vhdx, .vhdx shared or .vhds (VHD Set).
Solution #
For best practice designs of Hyper-V clusters, you should review the following article: https://stefanos.cloud/kb/how-to-deploy-a-hyper-v-cluster-with-powershell/.
Also you can purchase my e-book on Hyper-V cluster design best practices.
https://stefanos.cloud/windows-failover-clustering-design-handbook/
To migrate virtual machine storage, you should use the Hyper-V cluster storage migration feature.
Via Failover Cluster Manager #
Follow the steps below in the Failover Cluster Manager console.
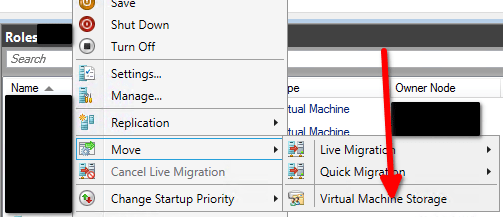
- Open the Hyper-V cluster manager console and click on the VM whose storage you need to migrate between cluster disks (volumes). Right-click on the VM and choose command "Move --> Virtual Machine Storage".
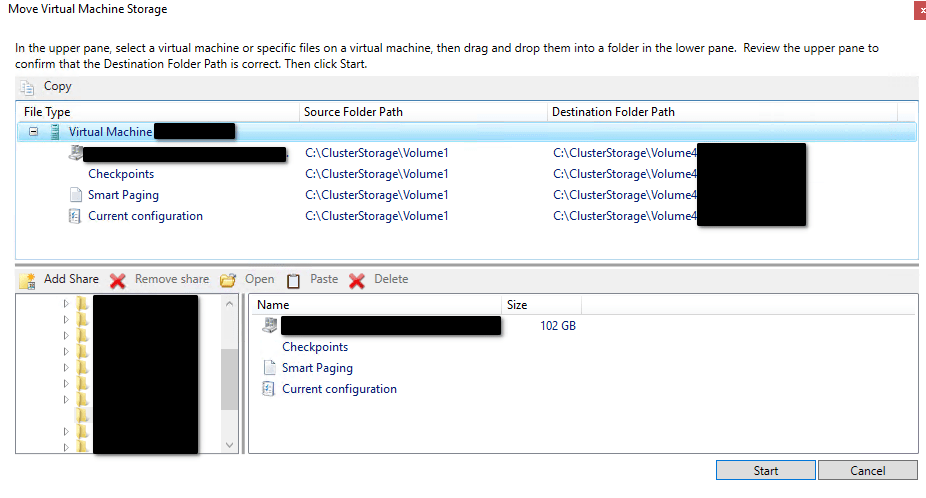
On the upper section, choose either the entire source VM or some of the associated storage files which you wish to migrate (source). Then drag and drop the selected rows to the lower section into the target folder of the target cluster volume (target). After completing the drag and drop operation, you should see a summary of the before (source) and after (target) storage repository for the dragged storage entities, as shown in the example below.
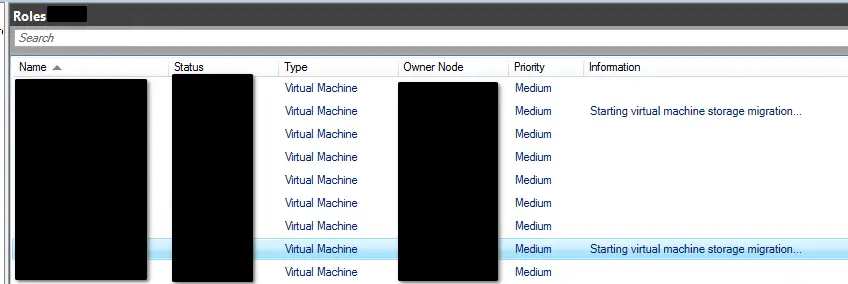
When you are ready click "Start" and observe the storage migration status in the Failover Cluster Manager console as well as by observing network traffic in the Windows File Explorer, from the source storage volume to the target volume.
The storage migration initiation should be shown inside the Failover Cluster Manager, next to the VM record whose storage migration has started.
You should repeat the above steps for all virtual machines whose storage you wish to migrate.
Via Powershell #
You can achieve the same Hyper-V virtual machine storage migration with the following example Powershell cmdlet.
Move-VMStorage "SourceVM" -VirtualMachinePath D:\MyVMs\Config -SnapshotFilePath D:\MyVMs\Snapshots -SmartPagingFilePath D:\MyVMs\SmartPaging -VHDs @(@{"SourceFilePath" = "C:\MyVMs\Disk1.VHDX"; "DestinationFilePath" = "D:\MyVMs\Disks\Disk1.VHDX"}, @{"SourceFilePath" = "C:\MyVMs\Disk2.VHDX"; "DestinationFilePath" = "D:\MyVMs\Disks\Disk2.VHDX"})Storage migration of shared vhdx or vhds disks #
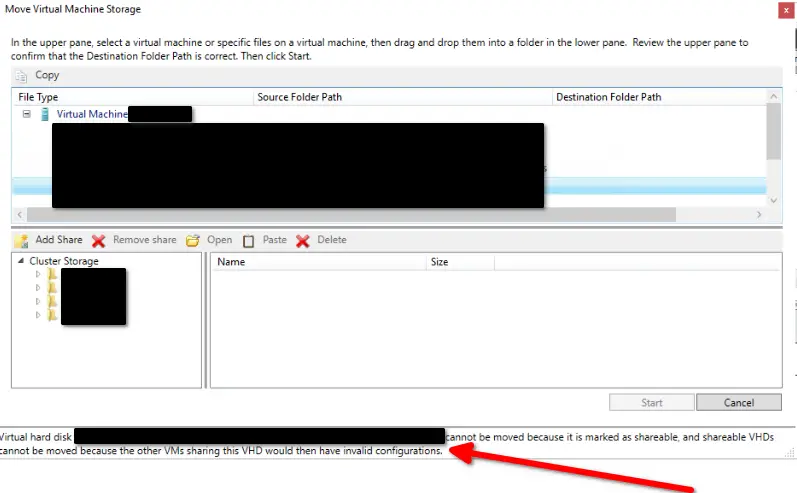
If you try to migrate a storage disk which is configured as a shared disk (either in .vhds VHD Set or .vhdx shared format) you will encounter the following blocking error and the storage migration will not be able to continue.
Virtual hard disk C:\ClusterStorage\[VolumeName]\[DiskName].vhdx cannot be moved because it is marked as shareable and shareable VHDs cannot be moved because the other VMs sharing this VHD would then have invalid configurations.
Case 1: Shared disks are part of a guest WFC cluster #
If the shared disks to be migrated to another storage LUN are part of a Windows Failover Cluster (WFC) in a guest cluster fashion, for example in a SQL Server guest cluster configuration, then you need to carry out the following steps.
- Shut down both guest cluster nodes (hosts) and remove the shared VHDX/VHDS file from both guest cluster nodes. The only connected disks to each cluster node should be the operating system disks.
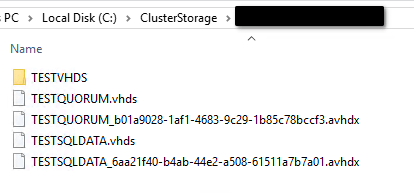
- Take backup of all disks previously attached to the guest cluster nodes by copy pasting all relevant disk files (vhdx, avhdx, vhds) to a backup location.
- Initiate VM storage migration for all guest cluster nodes as usual. This time the migration will succeed because there will be no shared vhdx or vhds files detected.


- Manually cut and paste all the shared vhdx, vhds and avhdx files to the target storage location.
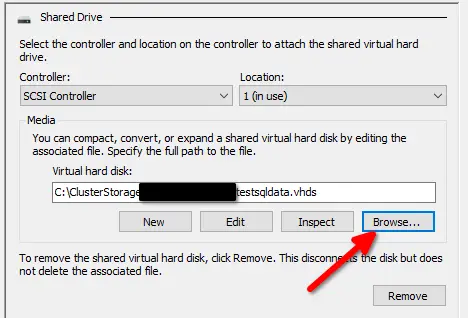
- Re-attach the clustered disks (shared vhdx or vhds) from their new target storage location to all guest cluster nodes.
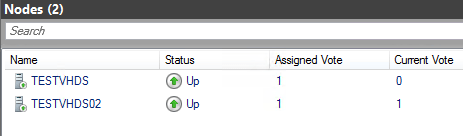
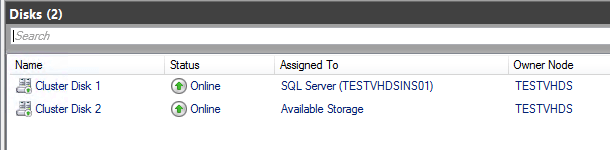
- Power on the guest cluster nodes and verify functionality in your WFC cluster within the Failover Cluster Manager console. Verify that all cluster objects are online. Also perform a test failover to ensure all guest cluster services are failing over successfully.
Case 2: Shared disks are not part of a guest WFC cluster #
In this case, you need to carry out the following steps.
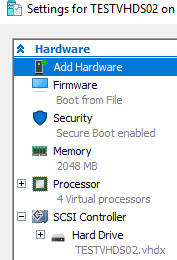
- Shut down the VM to which the shared disk in question is attached.
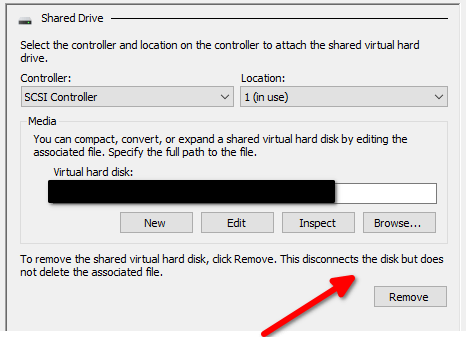
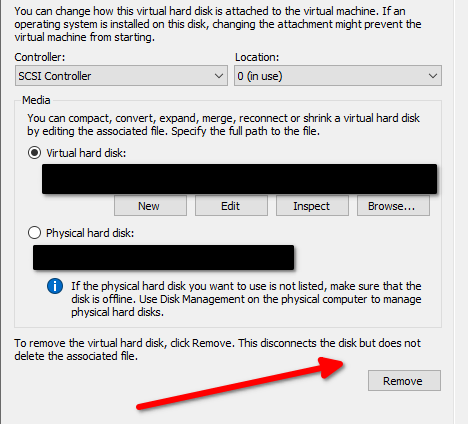
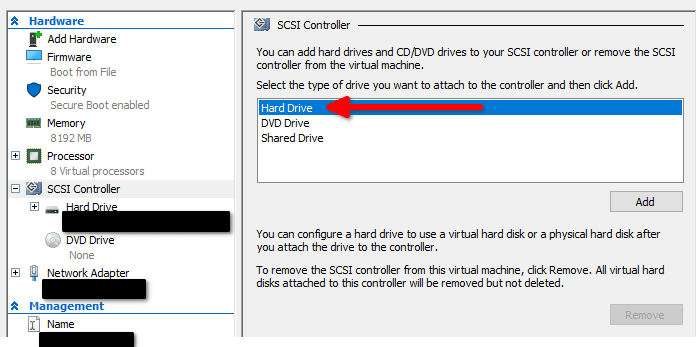
- Remove the shared disk in question from the VM. This will detach the disk from the VM but it will not delete the actual disk file/data.
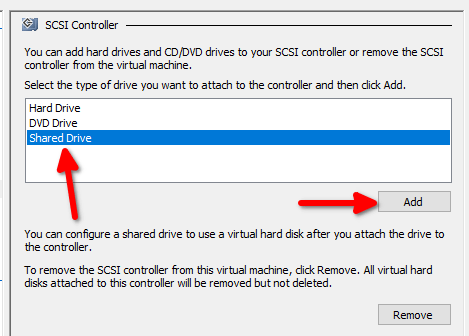
- Re-add the disk to the VM but this time choose the disk to be a non-shared disk.
- Power on the VM and perform the storage migration from the WFC console.
Sources #
https://docs.microsoft.com/en-us/powershell/module/hyper-v/move-vmstorage?view=windowsserver2022-ps


