Case #
The local network gateway is an Azure resource which represents an on-premises location (your site) for routing purposes. You give the site a name by which Azure can refer to it and also provide the public IP address of your on-premises VPN gateway (VPN peer), as well as the private IP space ranges in CIDR format of your local VPN gateway. In case your on-premises VPN gateway IP configuration changes, you can reflect these changes to the Azure local network gateway resource configuration.
This quick tutorial provides a step-by-step procedure for provisioning a new Azure local network gateway.
Solution #
Follow the procedure below in the Azure management portal, to create a new Azure local gateway.
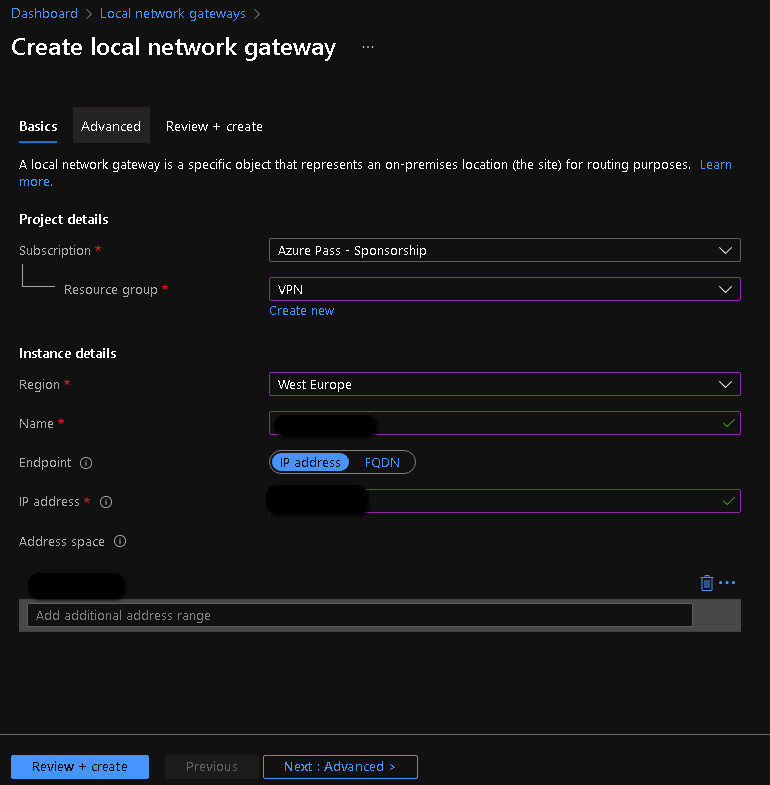
- In the search field of Azure portal, search for local network gateway. On the Basics tab, provide the public IP address and private IP address ranges in CIDR format from your on-premises (local) VPN gateway setup. Click Next: Advanced to continue.
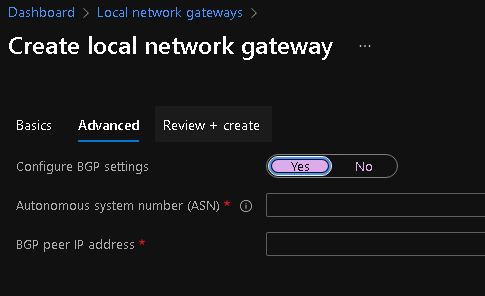
- Onthe Advanced tab, you can optionally provide BGP configuration data or leave the "Configure BGP settings" field to "no". Click on "Review+create to continue.
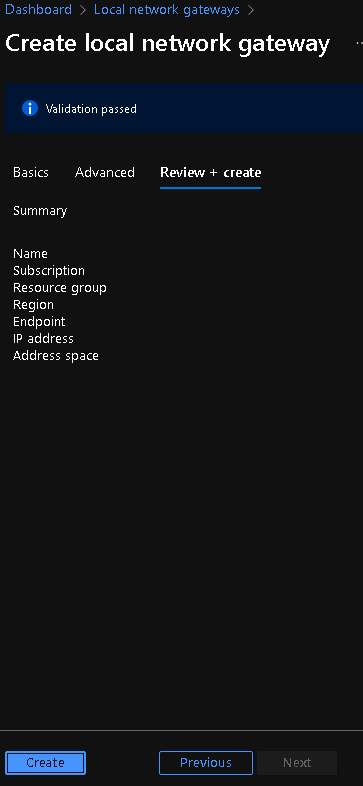
- Upon successful validation, click on the "Create" button to complete the provisioning of the Azure local network gateway.
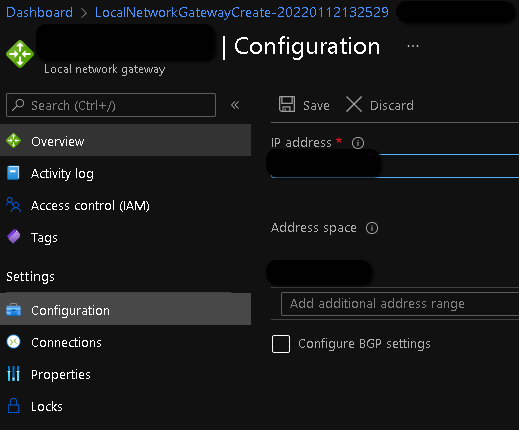
You can always change the IP configuration if something changes in your local VPN gateway, by navigating to the "Configuration" pane under the settings section of the local network gateway resource.